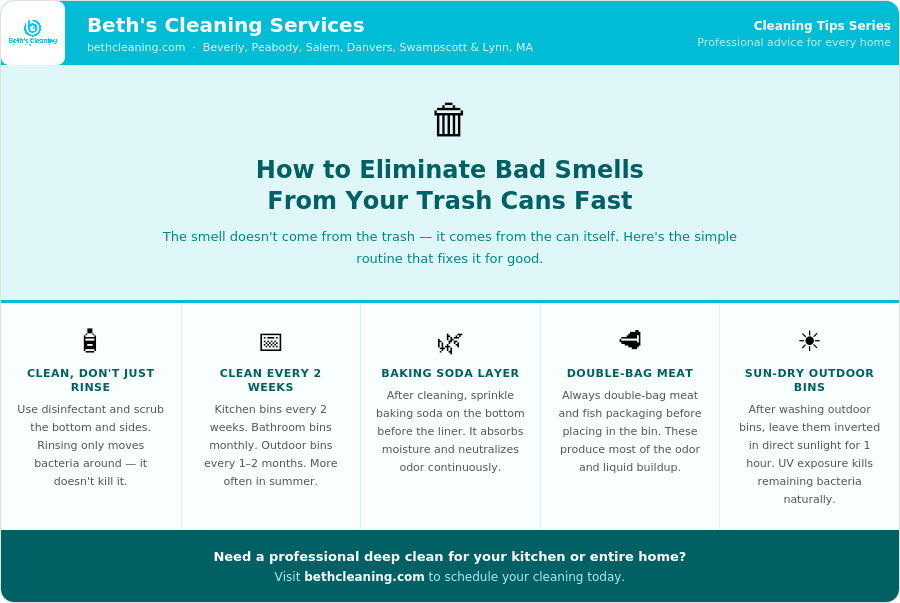
Every home has them. The kitchen trash can that smells the moment you lift the lid. The bathroom bin that develops a sour odor within days of being emptied. Most people deal with this by taking the trash out more frequently or dropping in a scented liner — neither of which solves the actual problem. The smell doesn’t come from the trash. It comes from the can itself.
Why Trash Cans Smell Even When Empty
Emptying a trash can doesn’t clean it. Every bag leaks — slowly, invisibly, continuously. Liquid from food scraps, meat packaging, coffee grounds, and organic waste seeps through bag seams and collects at the bottom of the can. That residue sits warm, covered, and undisturbed between cleanings and becomes a concentrated source of bacterial growth and odor.
The liner masks the smell temporarily. Remove the liner and the source remains. Clean the can and the problem disappears entirely.
How Often Trash Cans Actually Need Cleaning
Most people clean their trash cans when the smell becomes impossible to ignore. By that point the bacterial buildup is significant and the cleaning job is much harder than it needs to be.
The right frequency by location:
- Kitchen trash can — clean every two weeks minimum, weekly during summer months when heat accelerates bacterial growth
- Bathroom bins — clean monthly
- Outdoor trash and recycling bins — clean every one to two months, more frequently in warm weather
Regular cleaning at these intervals takes five minutes per can. Waiting until odor forces the issue takes significantly longer and requires more effort.
The Correct Cleaning Method
Rinsing a trash can with water moves bacteria around without eliminating it. The correct method uses a disinfectant that kills bacteria at the source.
Step by step:
- Take the can outside or to a utility sink — cleaning trash cans indoors spreads bacteria to surrounding surfaces
- Rinse with hot water to loosen residue
- Apply a disinfectant cleaner or a solution of one part white vinegar to one part water generously to the interior
- Scrub the bottom, sides, and lid interior with a dedicated brush — never use the same brush on other surfaces afterward
- Allow the disinfectant to dwell for at least two minutes before rinsing
- Rinse thoroughly and dry completely before replacing the liner — a damp can accelerates bacterial regrowth immediately
Baking Soda: Prevention Between Cleanings
After cleaning and drying the can completely, sprinkle a thin layer of baking soda across the bottom before replacing the liner. Baking soda absorbs moisture and neutralizes odor-causing acids continuously between cleaning sessions.
Replace the baking soda layer every time you change the liner. It costs almost nothing and extends the freshness of a clean can significantly.
Liner Habits That Reduce Odor
The liner is the first line of defense — but most people use it incorrectly.
Three liner habits that make a real difference:
- Always double-bag meat packaging and fish before placing in the kitchen bin — these produce the majority of the odor and liquid that causes buildup
- Tie the liner closed when removing it rather than pulling it out open — an open bag releases concentrated odor and bacteria into the surrounding air
- Never leave an empty unlined can — without a liner, residue contacts the can surface directly and bonds far more aggressively
Outdoor Bins Need Specific Attention
Outdoor trash and recycling bins are exposed to heat, rain, and higher volumes of organic waste. They develop odor faster and require a more thorough cleaning approach.
A garden hose and a long-handled brush with disinfectant cleaner handles most outdoor bin cleaning effectively. On a warm sunny day, leave the cleaned bin inverted in direct sunlight for an hour after washing — UV exposure kills residual bacteria and speeds drying simultaneously.
For persistent outdoor bin odor, a cup of white vinegar left in the bottom of the cleaned, dry bin between uses neutralizes odor continuously without chemicals.
When the Smell Has Gone Beyond the Can
In some cases — particularly in kitchens where a leaking bag went unnoticed — odor has spread from the can to the surrounding floor, cabinet interior, or wall. Bacteria and mold in these areas require the same disinfectant treatment as the can itself.
Clean the floor and wall area around and behind the trash can location with a disinfectant spray and allow it to dry completely. If the can lives inside a cabinet, wipe the interior of the cabinet thoroughly. Odor that seems to linger after cleaning the can is almost always coming from one of these surrounding surfaces.
At Beth’s Cleaning Service, our kitchen deep cleans include every overlooked zone — including the areas around and under trash cans that accumulate odor and bacteria silently. A professional kitchen clean resets the entire space to genuinely fresh.
👉 Visit bethcleaning.com to book your kitchen deep clean today.
📍 Serving Beverly, Peabody, Salem, Danvers, Swampscott & Lynn, MA