
Bathroom grout mold often starts where shower water lingers: corners, lower grout lines, and the joint above the tub. Before reaching for a stronger cleaner, identify the surface and check whether the problem is a small patch you can address or a sign of ongoing water damage.
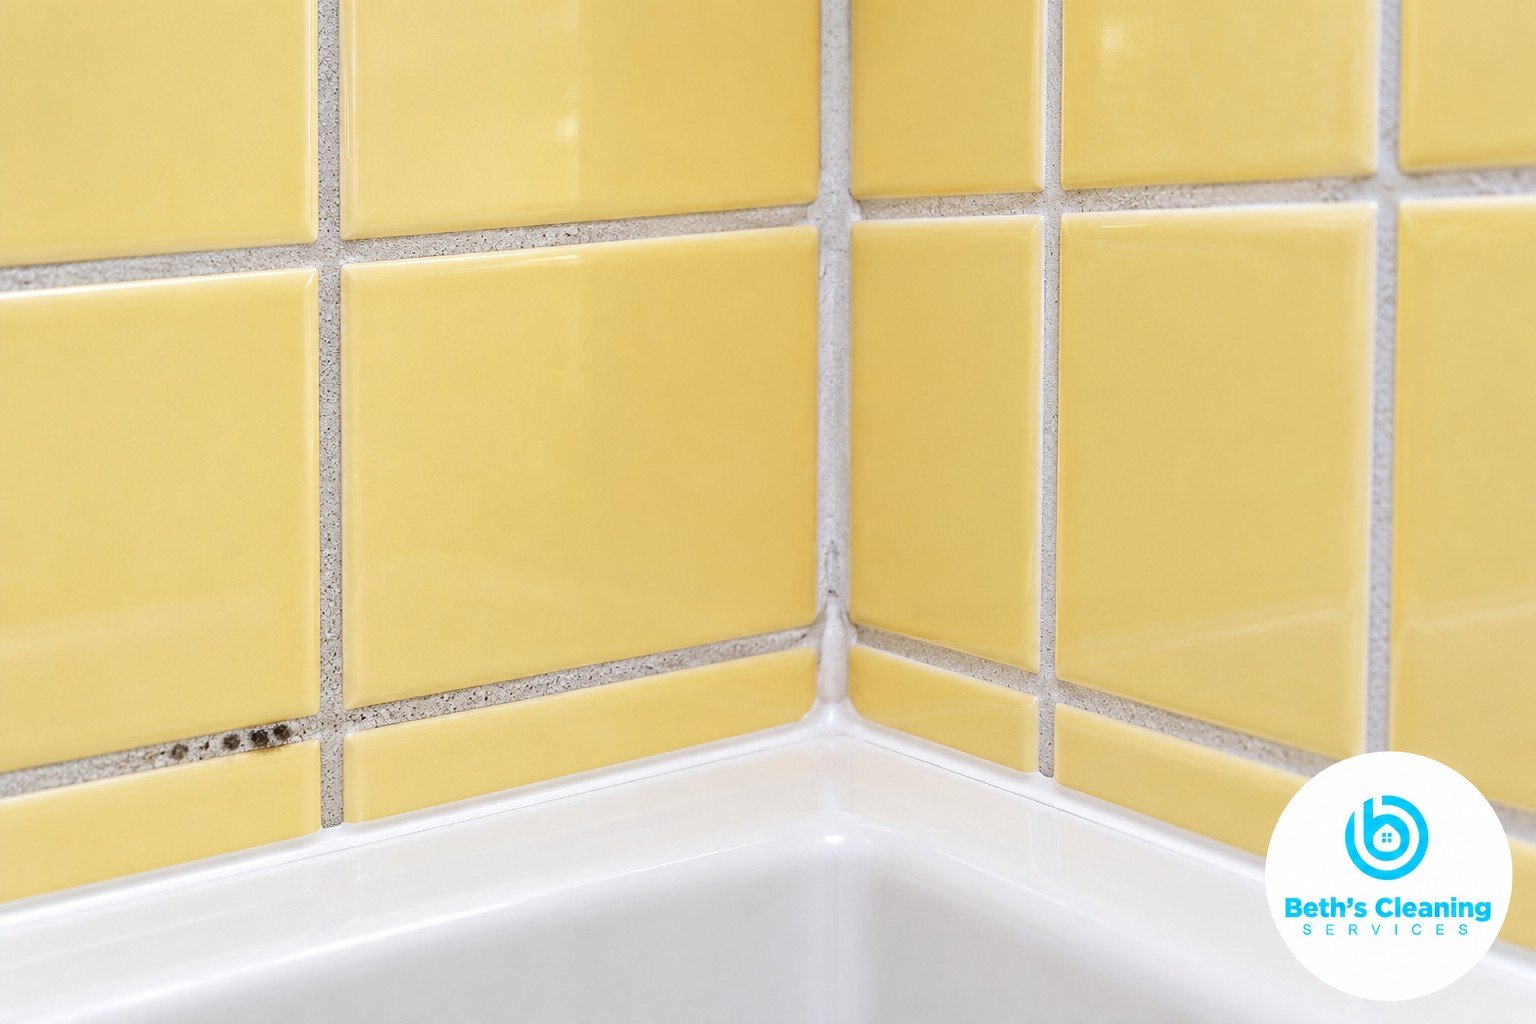
This guide covers careful cleaning of a limited area, product compatibility, and when to stop. Discoloration alone cannot tell you what kind of mold is present, and a remaining stain does not automatically mean more scrubbing will help.
Check the Size and Source First
The EPA’s home mold cleanup guidance says an area smaller than about 10 square feet can often be handled by the homeowner, depending on the circumstances. Larger areas, extensive water damage, contaminated water, or suspected hidden growth call for experienced professional help. If you have health concerns, ask a health professional before starting.
Look for leaks, loose tiles, soft adjacent walls, or failed joints. Cleaning the visible surface will not fix moisture behind the tile. Stop if you discover damage or if the same patch keeps returning.
Choose Supplies for Your Tile and Grout
Check the grout, tile, and sealer manufacturer’s care instructions. Cement-based grout, epoxy grout, glazed ceramic, and natural stone can require different products. Use a compatible mild detergent, a soft nonmetal brush, clean rinse water, and a cloth for drying; test the approved cleaner in an inconspicuous spot first.
For a small mold cleanup, the EPA describes minimum protection that includes gloves, goggles, and an N95 respirator. Follow fit and use instructions. An N95 filters particles; it does not protect against cleaning-product gases or vapors. Ventilate the room and follow the cleaner’s own precautions.
How to Clean Bathroom Grout Mold
1. Prepare the area. Move toiletries and towels out of the work zone. Avoid dry brushing or sanding the affected grout. Check that ventilation is working before opening a cleaning product.
2. Apply one compatible cleaner. Follow its dilution, application, and contact-time directions. Do not layer vinegar, peroxide, bleach, or other treatments. Never mix cleaning products, particularly bleach with acids or ammonia.
3. Work gently. Brush a small section without grinding into the joints. The EPA recommends detergent and water for mold on hard surfaces, followed by complete drying. Porous grout can be harder to clean fully than glazed tile, so do not assume surface cleaning resolves a deeper problem.
4. Rinse and dry. Remove residue as directed, then dry the surface thoroughly. Recheck the joints in good light. If discoloration remains, consult the grout manufacturer before trying another product; more aggressive treatment can damage the finish without solving the cause.
Avoid Vinegar on Natural Stone
A fizzing baking-soda-and-vinegar mixture is not a universal grout solution. It also exposes the surrounding tile to acid. The Natural Stone Institute’s care guidance warns that acidic cleaners can etch or dull acid-sensitive stone, including marble and limestone. Use a stone-compatible cleaner and avoid abrasive powders or brushes that can scratch.
Decide Whether Sealing or Repair Is Needed
Do not automatically seal every grout joint after cleaning. Some products do not require it: LATICRETE’s SPECTRALOCK PRO grout guidance, for example, says sealing is unnecessary. For grout that does need sealer, follow the specified preparation, drying, and reapplication instructions rather than a universal annual schedule.
Sealer is not a substitute for correcting leaks or repairing a shower’s waterproofing. Do not cover damp or moldy material with sealer or fresh caulk. Crumbling grout, separated silicone, or staining embedded in a flexible joint may need assessment and repair instead of another cleaning treatment.
Keep Shower Joints Drier Between Cleanings
Run effective bathroom exhaust ventilation during and after showers. Squeegee accessible tile, dry areas where water collects, and spread towels so they can dry. Fix drips promptly. If the room stays damp despite these habits, investigate ventilation and moisture sources rather than adding more daily sprays.
For routine bathroom upkeep in the Peabody area, explore Beth’s Cleaning Services’ regular cleaning and confirm the tasks included in your visit. Suspected mold inside walls or damaged shower joints should be evaluated by an appropriate specialist.

Follow us for more cleaning tips and inspiration!
📸 @beths_services on Instagram | 👍 BethCleaningServices on Facebook