
To clean your oven before holiday baking, begin with the model number and owner’s manual. Ovens differ in their cavity coating, exposed or concealed elements, steam-clean features, self-clean cycles, removable doors, racks, probes, and approved products. One homemade paste is not safe or effective for every design.
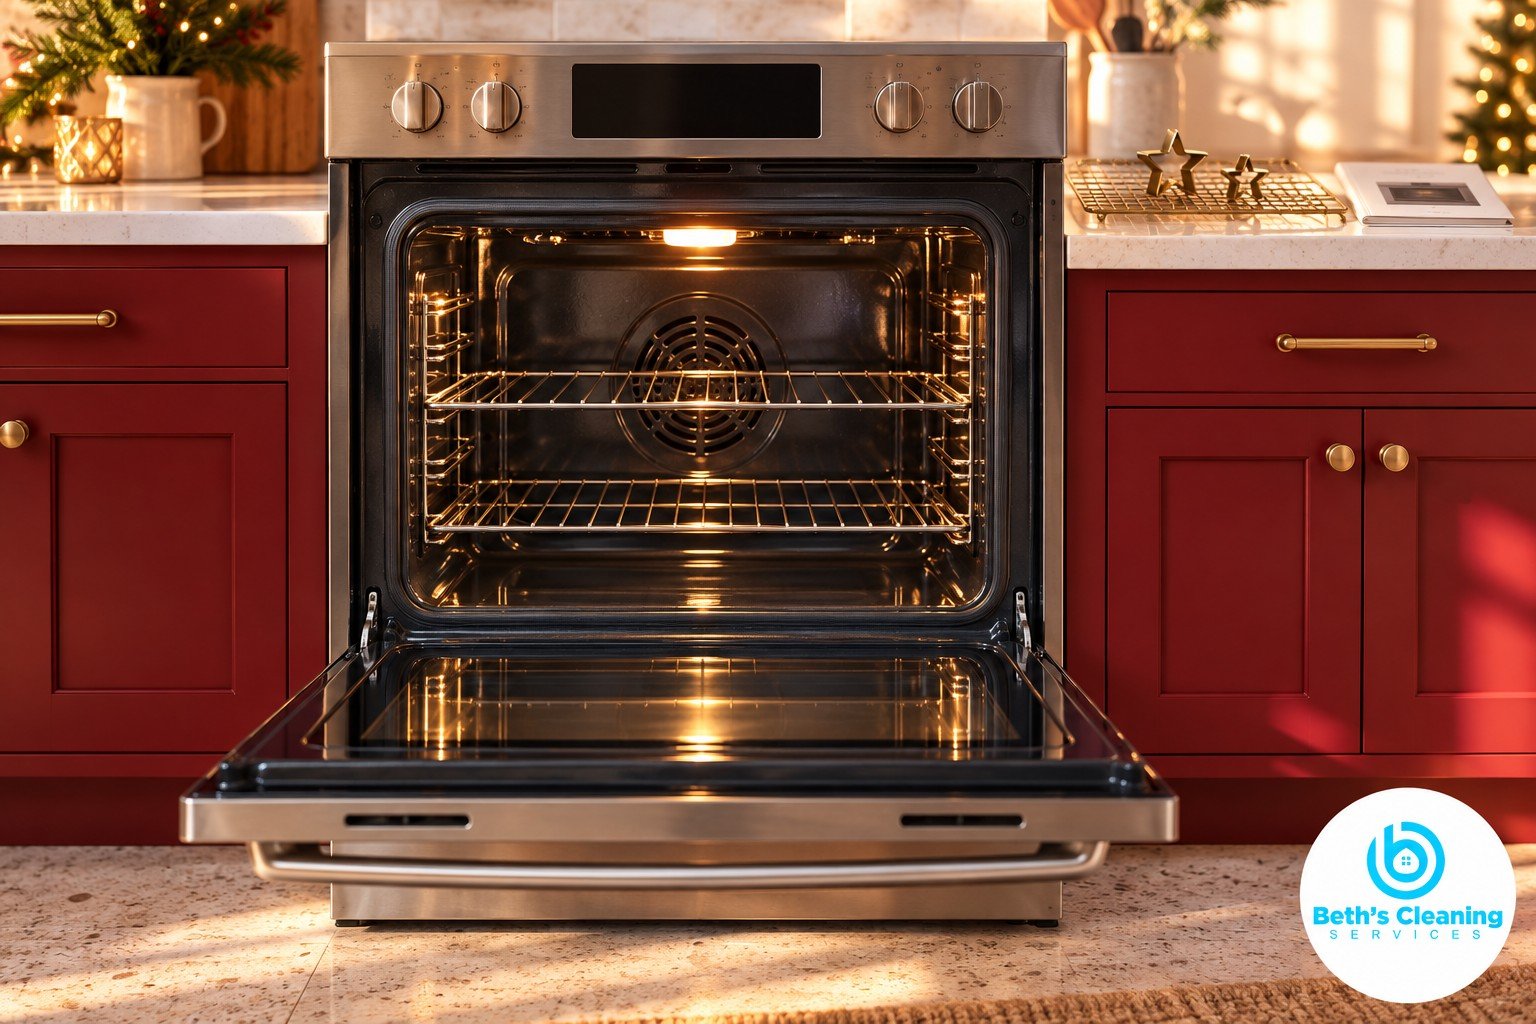
Plan the job several days before you need the appliance. That gives the oven time to cool, dry, and be checked without turning holiday cooking into a deadline.
Identify the Cleaning Method Your Oven Supports
Look for the cleaning section in the manufacturer’s manual. It may specify manual cleaning, high-temperature self-cleaning, steam cleaning, or a combination. Follow the method for your exact model, including what must be removed and which surfaces should not be scrubbed.
Do not assume baking soda and vinegar are approved for the cavity, door, coating, or heating components. Do not combine an oven cleaner with another chemical. If the manual permits a commercial product, use only that product and follow its ventilation, glove, contact-time, and rinsing directions.
Prepare the Oven Safely
Turn all controls off and wait until the oven and racks are completely cool. Remove cookware, pans, probes, foil, and stored items. Keep the floor dry and the work area clear so the open door does not become a trip hazard.
Rack instructions vary. GE’s self-clean preparation guidance says most racks should be removed unless the manual identifies them as self-clean or never-scrub racks. Leaving the wrong rack in a high-temperature cycle can affect its finish or movement.
How to Clean Your Oven Manually
1. Remove loose soil. When the oven is cool, lift out crumbs and wipe obvious spills using the tool and method allowed by the manual. Avoid pushing debris into slots, vents, the fan opening, or around an element.
2. Clean approved interior surfaces. Use the recommended cloth, sponge, scraper, solution, and dwell time. Do not coat heating elements, igniters, temperature sensors, lights, vents, or catalytic panels unless the manufacturer specifically directs it.
3. Protect the door gasket. Do not soak, scrub, pull, or reposition the gasket. KitchenAid’s self-clean instructions emphasize that the gasket is essential for a proper seal and that liquids should not enter door-frame slots.
4. Clean the door and racks separately. Use only methods listed for those parts. Whirlpool’s rack-care guide, for example, starts with a cool oven, removed racks, soap and water, and a soft cloth or sponge. Your rack finish may have different limits.
5. Remove residue and dry. Wipe or rinse as the product and appliance instructions require. Replace dry parts in the correct positions. Do not run the oven merely to burn off an unexplained cleaner smell; residue can smoke, and the appropriate response depends on what was used.
Use Self-Clean or Steam Clean Only as Directed
A high-temperature self-clean cycle is a built-in appliance function, not a universal risk or a universal solution. If your model supports it, remove the items named in the manual, wipe loose or heavy soil first, ventilate the kitchen, keep children away from the hot appliance, and do not force the locked door. Let the oven cool before wiping away ash.
Steam-clean cycles use different preparation. Some require a measured amount of water and prohibit chemicals or additives. KitchenAid’s AquaLift instructions, for example, specify distilled or filtered water and no additives. Treat the feature name on your control panel as a prompt to read the manual, not permission to improvise.
Skip Foil and Unapproved Oven Liners
An oven liner may seem like easy spill protection, but it can block airflow or trap heat. GE advises against lining an oven floor or racks with foil or silicone mats and warns that material left inside during self-clean can damage the oven. Use a baking sheet under a dish only when the recipe and appliance instructions allow it, with clearance for airflow.
Know When to Stop and Request Service
Cleaning can remove soil, but it does not calibrate temperature or guarantee even heating. If the oven repeatedly smokes after approved cleaning, shows an error, has a damaged gasket, cracked glass, exposed wiring, a gas odor, or visible damage to an element or coating, stop using it and follow the manufacturer’s service guidance.
For help with routine kitchen surfaces around the appliance, explore Beth’s Cleaning Services’ regular cleaning and confirm the tasks included in your visit. Interior oven cleaning, self-clean operation, repairs, and appliance service should be discussed rather than assumed.

Follow us for more cleaning tips and inspiration!
📸 @beths_services on Instagram | 👍 BethCleaningServices on Facebook